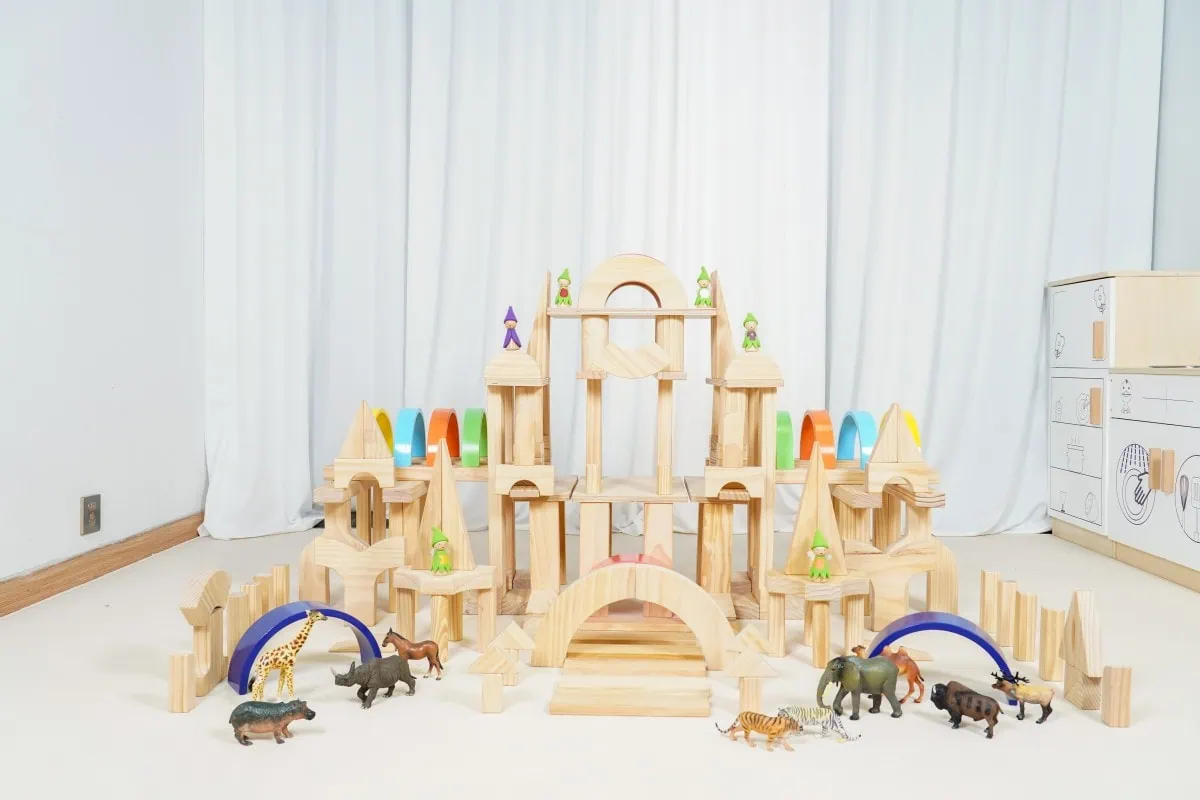
A preschool play village brings several types of play together in one connected learning environment. Instead of installing a single playhouse or activity panel, educators can create a small community with areas for restaurants, markets, transportation, gardening, art, construction, storytelling, and social gathering.
When the environment is thoughtfully planned, children can move between roles, materials, and ideas. A pretend restaurant may lead to a delivery game, the delivery route may connect to a market, and the market may use vegetables grown in the garden. These connections can make play more sustained and meaningful.
This guide explains eight essential steps for planning a play village for preschools, childcare centers, education groups, and outdoor learning projects.

What Is a Preschool Play Village?
A preschool play village is a planned collection of connected activity zones that represent places, services, and experiences children may recognize from everyday community life. It may be installed indoors, outdoors, or across a combined indoor-outdoor environment.
A play village is not a standardized product category. Its scale and components can vary considerably. A compact installation may contain a market counter, kitchen, planting table, and art panel. A larger project may include several playhouses, paths, road signs, construction areas, gathering spaces, storage, and landscaping.
The environment should be designed around the available site, children’s ages, intended activities, supervision plan, climate, accessibility needs, maintenance resources, and local requirements—not around a fixed list of equipment.
How Does a Play Village Support Play-Based Learning?
Young children often use pretend play to explore situations they observe in their families and communities. A play village gives them a setting in which they can create roles, exchange ideas, use objects symbolically, and develop shared stories.
Depending on the materials and adult support provided, the environment may create opportunities for:
- Communication: discussing roles, describing ideas, negotiating plans, and learning new vocabulary;
- Social participation: taking turns, sharing space, collaborating, and resolving disagreements;
- Early mathematics: counting objects, comparing quantities, sorting materials, measuring, and using pretend money;
- Scientific inquiry: observing plants, weather, water, soil, materials, and changes over time;
- Creative expression: drawing, building, storytelling, music, movement, and dramatic play;
- Physical activity: carrying, pushing, walking, digging, reaching, and manipulating tools or loose parts;
- Community awareness: exploring familiar occupations, services, routines, and cultural experiences.
These are possible learning opportunities rather than guaranteed outcomes. The value of the environment depends on how well it reflects the children, how educators introduce and observe it, and whether children have sufficient time and freedom to develop their play.
Step 1: Define the Educational Purpose
Begin with what children should be able to experience—not with a list of products. A clear purpose helps prevent the project from becoming an attractive collection of disconnected equipment.
Discuss the following questions with educators and project stakeholders:
- Which age groups will use the village?
- What types of play are currently missing from the environment?
- Will the village support free play, guided activities, or both?
- Which curriculum themes or community experiences should it reflect?
- How many children may use each zone at one time?
- Will the installation be permanent, seasonal, or reconfigurable?
- How will materials be stored and rotated?
- How will educators supervise and support the area?
A village designed primarily for dramatic play will require different components from one focused on gardening, construction, or physical movement. Establishing priorities early helps control space, budget, and product quantity.
Step 2: Assess the Site
Record accurate site information before developing the layout. For outdoor projects, this includes more than the total area.
- Overall dimensions and boundary conditions
- Entrances, emergency routes, and service access
- Existing buildings, fences, trees, columns, and utilities
- Ground level, slope, drainage, and surface conditions
- Sun orientation and seasonal shade
- Prevailing wind and local weather exposure
- Water access for gardening or cleanup
- Visibility from normal staff positions
- Accessible routes and transfer points
- Areas affected by noise, dust, traffic, or neighboring activities
The site assessment should also identify which components are portable furniture and which may be considered fixed play equipment or structures. This distinction can affect foundations, installation, inspection, fall protection, accessibility, and regulatory requirements.
Step 3: Select the Core Play Village Zones
A preschool play village does not need every possible activity zone. Select a manageable group of complementary areas that fit the site and educational purpose.
Restaurant, Kitchen, or Market
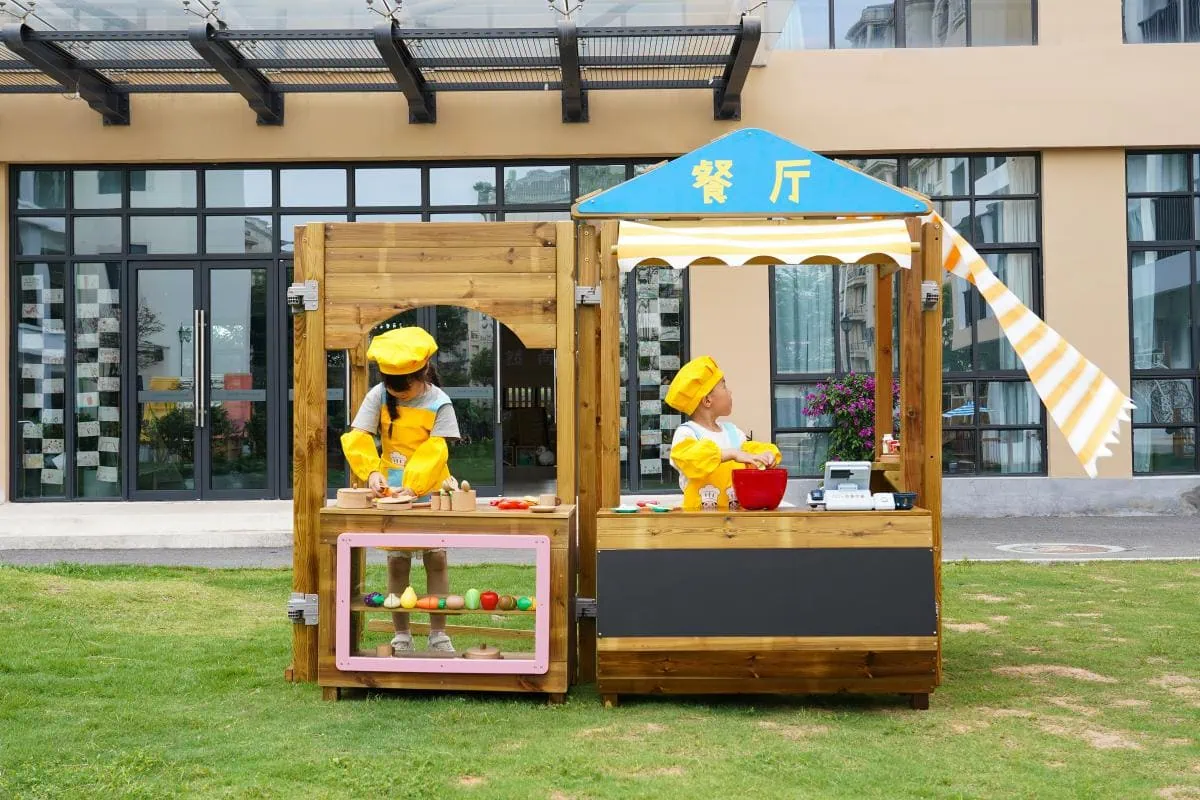
A restaurant or market creates opportunities for children to prepare pretend food, organize materials, make menus, serve customers, count objects, and exchange roles.
Possible components include a service counter, kitchen unit, tables, seating, produce displays, baskets, menus, signs, and suitable pretend food. Materials should represent different families and food traditions without reinforcing narrow cultural stereotypes.

Transportation and Road-Play Zone
Paths, road markings, signs, delivery carts, and ride-on vehicles can connect different village areas. Children may transport materials between a garden, market, restaurant, construction site, or post office.
Transportation routes should not cut through quiet or seated activities. Designers should consider visibility, turning space, parking locations, pedestrian crossings, slopes, and potential collisions.
Planting and Nature-Discovery Zone
A planting area can invite children to fill containers, sow suitable seeds, water plants, compare growth, collect leaves, and observe seasonal changes.
Plan access to water, drainage, tool storage, soil containment, shade, and handwashing. Plants should be selected with attention to local climate, toxicity, thorns, allergies, maintenance, and pest management.

Art and Making Zone
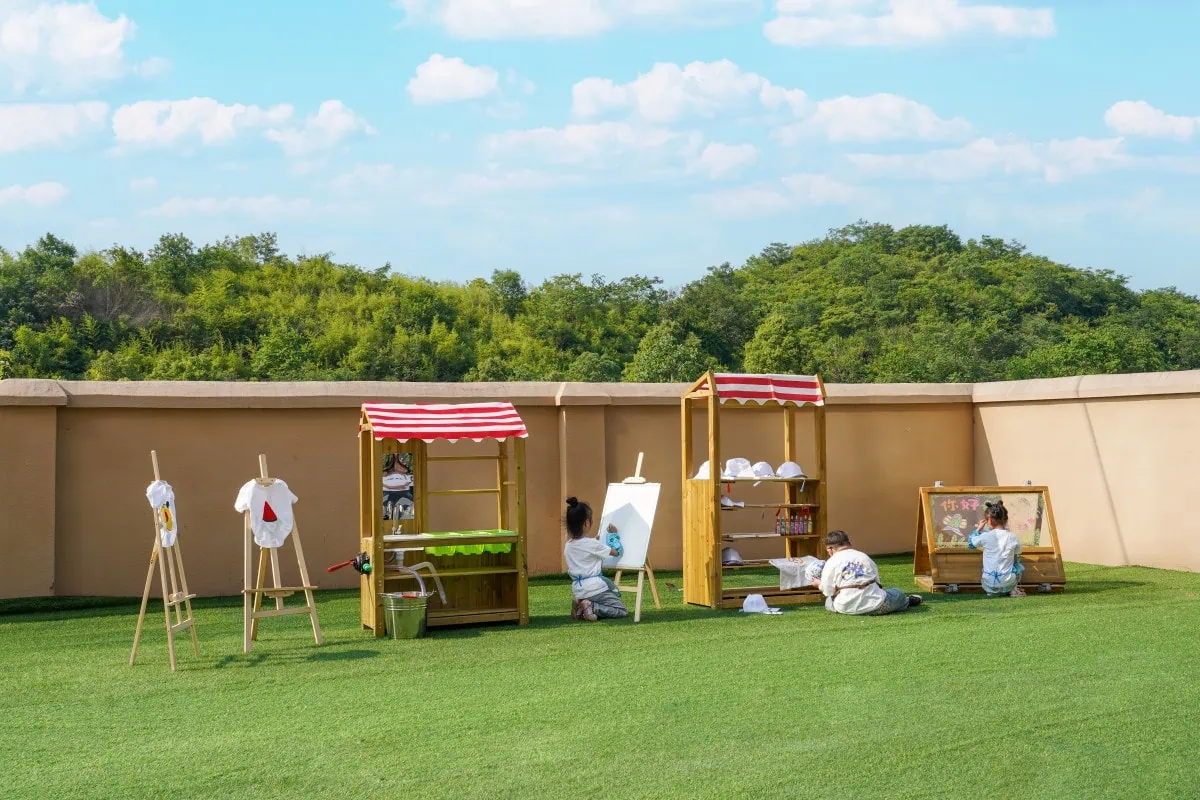
An outdoor easel, work surface, material trolley, or display panel can support drawing, painting, collage, construction, and collaborative projects.
The area should include appropriate storage, washable surfaces, drainage where required, and a method for protecting materials from weather. Position it where wet art activities will not create slipping hazards on circulation routes.
Construction and Workshop Zone
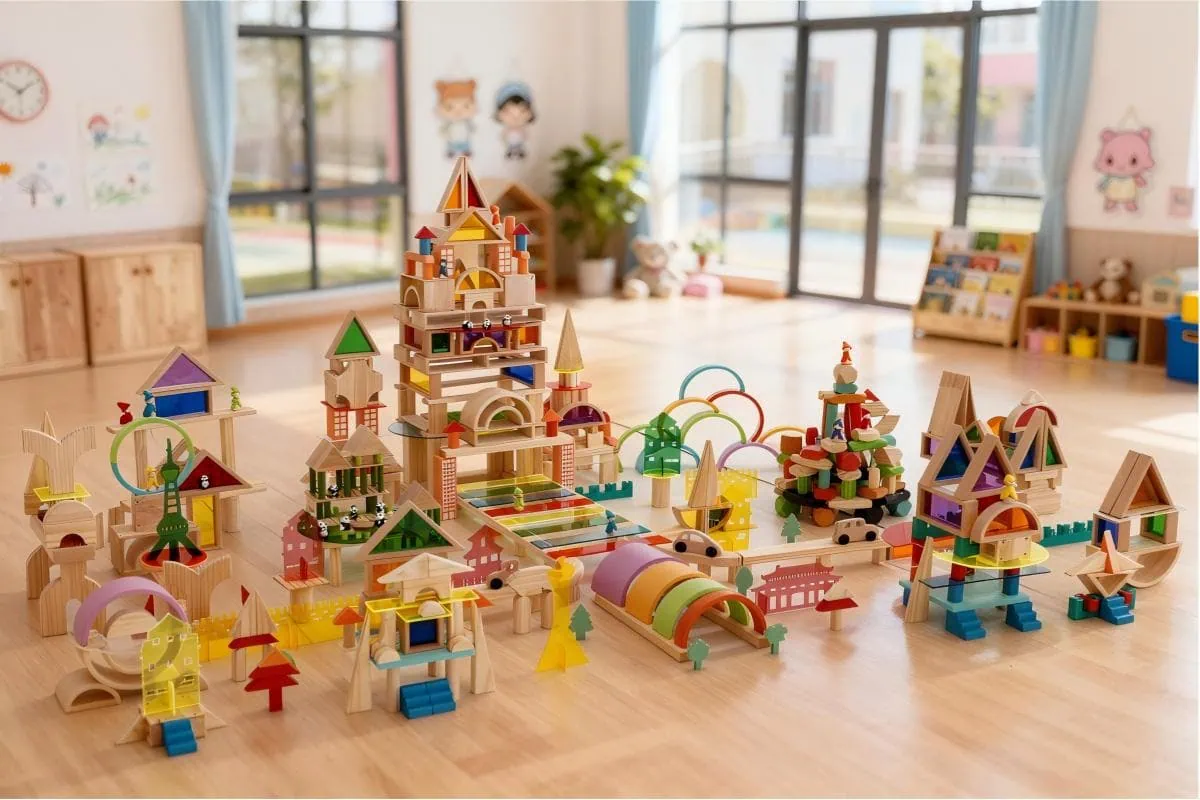
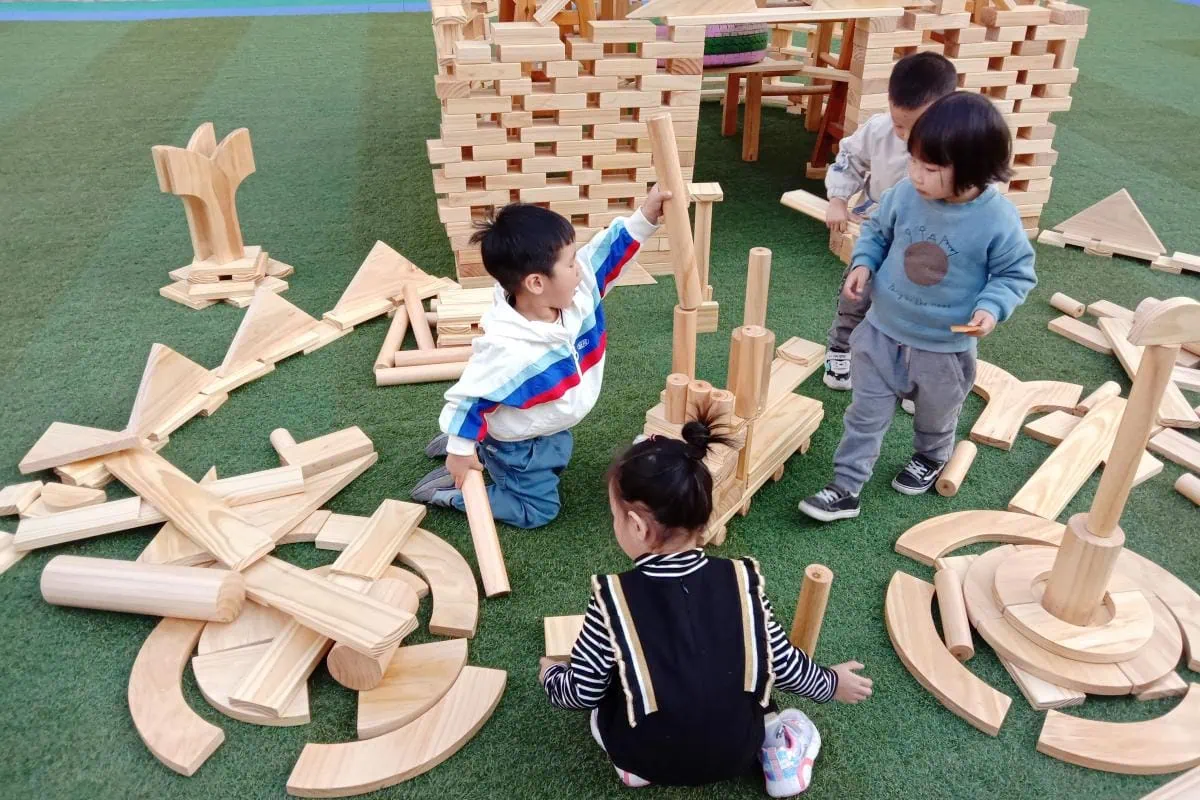
Large blocks, lightweight building parts, connectors, crates, and child-appropriate tools can help children build structures and modify their play scenarios.
Loose parts must be selected according to the intended age group and supervised use. Storage should make it easy to count, inspect, organize, and remove damaged pieces.
Gathering and Storytelling Area
A sheltered meeting area, seating circle, stage, or small performance space gives children somewhere to tell stories, plan group play, hold pretend community meetings, or rest between active experiences.
This area should be protected from busy vehicle routes and positioned where educators can supervise both the gathering space and neighboring zones.
Step 4: Connect the Zones With a Coherent Layout
The strongest play village layouts encourage children to carry ideas between zones while keeping incompatible activities apart.
| Zone | Useful Connection | Planning Concern |
|---|---|---|
| Garden | Market or restaurant | Water, soil, drainage, and tool storage |
| Restaurant | Market and delivery route | Seating should not obstruct circulation |
| Transportation | Multiple village destinations | Collisions, slopes, parking, and visibility |
| Art area | Nature and storytelling zones | Cleanup, wet surfaces, and weather protection |
| Construction | Transport and workshop areas | Loose materials, boundaries, and storage |
| Quiet gathering | Storytelling and social play | Separation from noisy or fast-moving activities |
Use pathways and low visual cues to make the layout understandable. Avoid overusing solid barriers that create concealed areas. Children should be able to recognize where one activity ends and another begins without the village becoming a collection of restrictive compartments.
Step 5: Protect Sight Lines, Movement, and Accessibility
Educators need clear views across the environment. Playhouses, panels, storage units, planting racks, and landscaping can unintentionally create blind spots.
- Check sight lines from several realistic staff positions.
- Avoid enclosed corners that cannot be observed or reached quickly.
- Keep entrances, gates, and emergency routes visible.
- Separate fast-moving routes from seated and quiet activities.
- Provide sufficient space around doors, counters, and popular equipment.
- Avoid dead ends that create congestion.
- Include accessible routes through the main village experiences.
- Provide different heights, reaches, and methods of participation where practical.
Accessibility should be considered from the beginning rather than added after the equipment has been selected. The objective is not necessarily for every child to use every component in exactly the same way, but for children with different abilities to participate meaningfully in the shared play environment.
Step 6: Plan Safety, Surfacing, and Climate Protection
A play village may combine furniture, loose materials, paths, wheeled toys, shelters, climbing elements, and fixed structures. Each component should be assessed according to its intended use and the requirements applicable in the destination market.
Important considerations include:
- age grading and permitted number of users;
- head, neck, limb, finger, clothing, and hair entrapment;
- fall height and impact-attenuating surfacing;
- structural stability and anchoring;
- accessible edges, corners, hardware, and openings;
- vehicle routes and collision points;
- shade and surface temperatures;
- drainage, standing water, and slip risks;
- wind exposure and secure storage of portable items;
- plant, soil, sand, and water hygiene;
- emergency access and evacuation routes.
The latest applicable standards, local regulations, licensing requirements, and insurer conditions should be confirmed for the specific project. Toy standards alone may not be sufficient for permanently installed or public-use playground equipment.
Equipment installation does not replace active supervision. Staff should understand how children move between zones, where conflicts are likely to occur, and where adults need to position themselves during different activities.
Step 7: Select Materials for the Actual Environment
Wood can create a warm, visually coherent environment, but its performance depends on the species, construction, treatment, coating, exposure, installation, and maintenance.
Professional buyers should request information about:
- wood species and structural application;
- solid timber, plywood, or panel construction;
- moisture control and outdoor suitability;
- fastener and hardware materials;
- coating system and intended exposure;
- chemical testing relevant to the target market;
- splinter, crack, and delamination control;
- cleaning products and maintenance intervals;
- parts that require periodic replacement;
- end-of-life repair or disposal options.
Descriptions such as “natural,” “eco-friendly,” “weatherproof,” or “premium wood” should be supported by specific material information. Outdoor timber normally requires inspection and maintenance; it should not be presented as maintenance-free.
Step 8: Test, Train, and Refine the Village
Before final installation, review a scaled plan or mark the proposed equipment footprints on site. Test circulation, visibility, delivery access, maintenance access, and relationships between zones.
After installation:
- complete the required installation and safety inspections;
- confirm that all fixings, locks, anchors, and connections are secure;
- record the approved configuration and user instructions;
- train staff in supervision, setup, storage, and daily checks;
- introduce the environment gradually to children;
- observe congestion, conflicts, blind spots, and underused areas;
- rotate selected props without changing the entire layout;
- document damage, maintenance, repairs, and incidents.
Successful evaluation is not based only on whether children appear busy. Educators can also observe whether children sustain play, develop shared ideas, access materials independently, include one another, and move safely between areas.

Play Village Procurement Checklist
Distributors, importers, preschool groups, and project contractors should prepare the following information before requesting a proposal:
- destination country and project type;
- scaled site plan and verified dimensions;
- indoor or outdoor use environment;
- children’s intended age range;
- estimated number of users;
- preferred activity zones and educational priorities;
- existing surfacing, shade, drainage, and utilities;
- fixed, portable, or modular equipment preferences;
- required material and finish specifications;
- applicable standards and documentation;
- installation and anchoring responsibilities;
- packaging, delivery destination, and project schedule;
- OEM, private-label, color, or branding requirements;
- spare-parts and maintenance expectations.
For custom projects, approve drawings, dimensions, materials, colors, warning labels, packaging, instructions, and product samples before mass production. Any material or structural change should be reviewed to determine whether updated testing is required.
Common Play Village Planning Mistakes
- Adding too many themes: An overcrowded site can reduce usable play space and make supervision difficult.
- Buying before completing the layout: Individual products may fit, while their required operating areas do not.
- Creating disconnected zones: Children have fewer opportunities to extend stories between activities.
- Ignoring circulation: Vehicle paths and busy entrances can conflict with seated or quiet play.
- Blocking sight lines: Tall panels, houses, and planting units may create hidden areas.
- Using indoor materials outdoors: A surface coating alone does not make a product suitable for permanent exposure.
- Relying on generic certificates: Documentation should match the product, configuration, use, and destination market.
- Forgetting storage: Props and loose parts need secure, accessible, and weather-appropriate storage.
- Skipping staff training: A good physical environment still requires informed supervision and maintenance.
Frequently Asked Questions
What should a preschool play village include?
It should include a small number of connected zones selected according to the site and educational goals. Common choices include a restaurant or market, garden, transportation route, art area, construction zone, and gathering space.
Does a play village need a large outdoor area?
No. A compact village can use multifunctional counters, mobile storage, planting containers, and rotating props. The number of zones should be reduced rather than fitting too much equipment into a small site.
Can a play village be installed indoors?
Yes, provided the products are suitable for indoor use and the layout addresses circulation, exits, accessibility, supervision, floor protection, cleaning, storage, and any fall risks.
Is wooden play equipment maintenance-free?
No. Inspection and maintenance depend on the material, coating, climate, exposure, construction, and intensity of use. Outdoor wood should be checked for coating wear, moisture damage, cracks, splinters, loose hardware, and ground-contact deterioration.
Can standard products be combined into a custom village?
Yes. Standard modules can often reduce development time and simplify replacement, while selected colors, signs, layouts, panels, and branding can be customized. Compatibility, installation, and compliance should still be confirmed for the final configuration.
Build a Connected Environment for Meaningful Play
A successful preschool play village is not defined by the number of playhouses or decorative themes it contains. Its value comes from the relationships between spaces: children can grow produce in one area, transport it along a path, organize it in a market, prepare it in a restaurant, and turn the complete experience into a shared story.
Start with educational purpose, assess the site, choose compatible zones, protect movement and visibility, select suitable materials, verify project requirements, and refine the environment through observation.
Sing2sky has manufactured wooden educational products since 2008 and supports distributors, importers, early education groups, OEM brands, and project partners. Contact Sing2sky with your site plan, destination market, intended age group, preferred activity zones, required quantity, and project schedule.
Product selection, installation, use zones, age grading, supervision, and compliance should always be determined according to the specific products, project location, and applicable requirements.