A successful pre-K classroom layout is more than an attractive arrangement of tables, shelves, and learning materials. It is a practical system that influences how children move, choose activities, collaborate, concentrate, and transition throughout the day.
For teachers and early education centers, a thoughtful layout also supports supervision, classroom management, accessibility, and efficient use of limited space. For school groups and project buyers, planning the layout before purchasing furniture helps prevent incorrect dimensions, overcrowded rooms, and costly changes after installation.
This guide presents a ten-step process for developing a safe, flexible, and engaging pre-K learning environment.
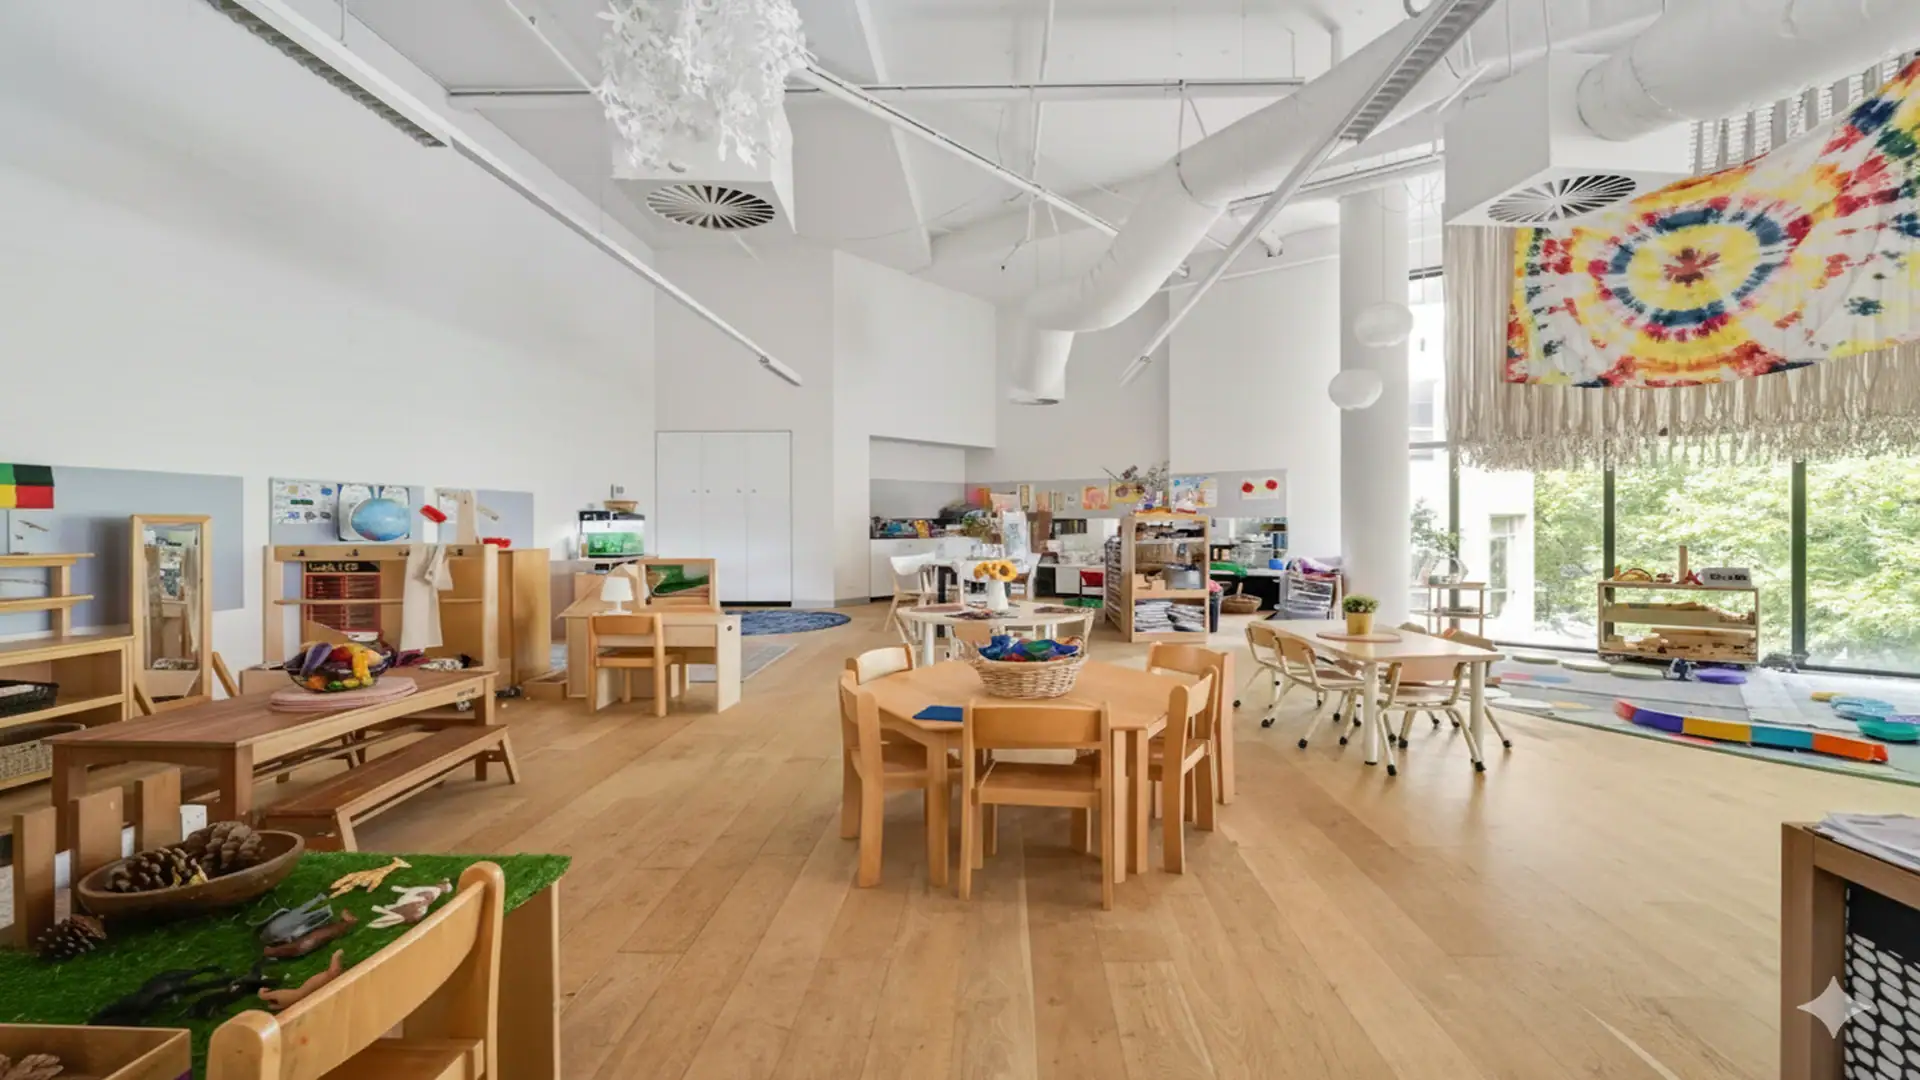
Why Does Pre-K Classroom Layout Matter?
Young children learn through active exploration, play, conversation, observation, and repeated practice. The physical environment should make these experiences easier rather than creating unnecessary barriers.
A well-planned classroom can help educators:
- create predictable routines and smoother transitions;
- separate noisy activities from quiet concentration areas;
- maintain clear supervision sight lines;
- encourage children to select and return materials independently;
- support individual, small-group, and whole-group experiences;
- reduce congestion around doors, sinks, cubbies, and popular centers;
- adapt the room as children’s interests and abilities develop.
The NAEYC principles of developmentally appropriate practice emphasize active, meaningful, play-based learning. A classroom layout should therefore offer purposeful choices while allowing teachers to guide, observe, and extend children’s learning.
Step 1: Measure and Document the Room
Begin with accurate information rather than arranging furniture from memory. Record the room’s length and width, ceiling height where relevant, and the dimensions of fixed architectural features.
- Doors and their opening direction
- Windows and low window sills
- Emergency exits
- Sinks and wash areas
- Electrical outlets and data points
- Heating, ventilation, and air-conditioning equipment
- Columns, built-in cabinets, and structural recesses
- Toilets and changing areas
- Existing furniture that must remain
Mark these elements on a scaled floor plan. The drawing does not need to be architecturally complex, but the dimensions must be reliable enough to compare furniture footprints and circulation space.
Step 2: Confirm Safety and Regulatory Constraints
Before defining learning centers, identify the requirements that cannot be compromised. These may include emergency egress, fire-code clearances, occupancy limits, sanitation rules, staff-to-child ratios, accessibility standards, and local licensing requirements.
Requirements vary between countries and jurisdictions, so universal aisle widths or room-capacity figures should not be substituted for an assessment by the responsible local authority or project professional.
As a general planning principle, furniture should not obstruct exits, create concealed areas, or prevent children and adults from reaching essential facilities. Tall units should be positioned carefully and secured when required by the manufacturer or applicable regulations.
Step 3: Identify the Activities the Classroom Must Support
List the activities in the daily program before deciding where furniture belongs. A typical pre-K room may need to support:
- arrival and personal-belongings storage;
- whole-group meetings and music;
- block and construction play;
- dramatic and imaginative play;
- art, writing, and creative work;
- books, storytelling, and quiet reflection;
- science, nature, and discovery;
- manipulatives, puzzles, and early mathematics;
- sensory activities;
- meals or snacks;
- rest and calm-down routines.
Not every classroom needs a permanent area for every activity. In a compact room, one table may support art in the morning and puzzles later in the day. Mobile storage and clearly labeled material trays can make shared areas easier to manage.
Step 4: Group Compatible Learning Zones
Organize learning centers according to noise, movement, water access, flooring, light, and storage requirements.
| Zone | Useful Location | Planning Considerations |
|---|---|---|
| Blocks and construction | Near dramatic play | Allow floor space, durable storage, and room for collaborative building. |
| Art and sensory | Near a sink or washable surface | Provide accessible supplies and an easy cleanup route. |
| Reading and calm space | Away from busy circulation | Use comfortable seating, soft finishes, and lower noise levels. |
| Circle or meeting area | Visible central or flexible area | Avoid placing a major traffic route through the group space. |
| Science and discovery | Near natural light when suitable | Include display space and storage for rotating materials. |
| Cubbies and arrival | Near the entrance | Prevent queues from blocking the door or classroom circulation. |
Step 5: Design Clear Traffic Paths
A strong pre-K classroom layout allows children to reach learning areas without repeatedly crossing through another activity. Observe the routes between the entrance, cubbies, toilets, sinks, tables, shelves, and outdoor access.
- Keep primary routes direct and free from loose materials.
- Avoid long open “runways” that encourage running indoors.
- Do not place chairs where they block frequently used paths.
- Provide enough room for children to enter and leave a center without disrupting others.
- Consider mobility devices and individualized access needs.
- Check transitions under real conditions, not only when the classroom is empty.
Low shelves can define learning centers without making the room feel closed. However, boundaries should remain easy for children to understand and easy for adults to supervise.
Step 6: Protect Sight Lines and Active Supervision
Teachers should be able to scan the classroom and anticipate where additional support may be needed. The Head Start active supervision guidance recommends setting up environments so staff can observe children and position themselves effectively.
- Use child-height storage where appropriate.
- Avoid creating hidden corners behind tall cabinets.
- Check visibility from common teacher positions.
- Plan staff zones during free play, meals, transitions, and cleanup.
- Use mirrors only as a supplement, not as a replacement for direct supervision.
- Keep visual access to entrances, exits, and water-based activities.

Step 7: Choose Furniture Using Real Footprints
Furniture should be evaluated as part of the floor plan, not as isolated products. A table’s listed dimensions, for example, do not include the space needed to pull out chairs or move around seated children.
Review the following details before ordering:
- overall product dimensions;
- working or access space around the product;
- recommended age range and user capacity;
- table and seat heights;
- stability and anti-tip requirements;
- rounded edges and accessible hardware;
- cleaning and maintenance instructions;
- storage capacity and shelf reach;
- assembly, delivery, and installation requirements;
- applicable product testing or documentation.
Durability is particularly important for schools, preschool chains, and other high-use environments. Material descriptions such as “wooden” or “natural” do not by themselves establish that a product is safe or sustainable. Buyers should request relevant material specifications, finish information, testing documents, and maintenance guidance from the supplier.
Step 8: Make Materials Visible and Manageable
Children are more likely to make purposeful choices when they can see what is available and understand where it belongs. Open shelves, picture-and-word labels, consistent containers, and limited material quantities can support classroom independence.
- Place frequently used materials within suitable reach.
- Store adult-only resources separately.
- Display enough choices to invite exploration without overwhelming the space.
- Rotate selected materials according to current projects and interests.
- Use consistent labels to simplify cleanup.
- Provide baskets or trays that children can carry safely.
An inclusive classroom should offer multiple ways to participate and communicate rather than assigning children to fixed “learning styles.” Consider seating choices, sensory needs, language backgrounds, mobility, attention, and individual support plans when selecting and positioning materials.

Step 9: Test the Layout Before Installation
Before purchasing or permanently installing furniture, test the proposed arrangement at full scale. Masking tape, cardboard templates, or movable existing furniture can represent the footprint of planned items.
Walk through common scenarios:
- Children arriving and storing belongings
- A whole group moving to the meeting area
- Several children using a popular center
- Staff supervising from different positions
- Children accessing the sink or toilet
- Meal and cleanup routines
- Emergency evacuation
- A child or adult using a mobility device
- Delivery and installation of large furniture
Invite classroom educators, administrators, facilities staff, and inclusion specialists to review the plan. Their operational experience can reveal problems that are not obvious on a drawing.
Step 10: Observe, Record, and Refine
No classroom layout is permanently finished. Observe how children and adults actually use the room during the first several weeks.
Useful evaluation questions include:
- Where do queues or collisions occur?
- Which centers remain crowded or underused?
- Can educators see and reach every active zone?
- Do quiet activities experience frequent interruption?
- Can children find and return materials independently?
- Are transitions taking longer than expected?
- Does any child encounter an avoidable access barrier?
- Are materials being used as intended?
Make one or two changes at a time and record the result. This produces more useful evidence than rearranging the entire classroom without identifying the source of the problem.
Essential Pre-K Learning Areas
Whole-Group Meeting Area
This flexible area can support stories, songs, discussions, movement, and project introductions. Floor markers or a rug may help define personal space, but the area should be easy to clear when the room needs additional activity space.
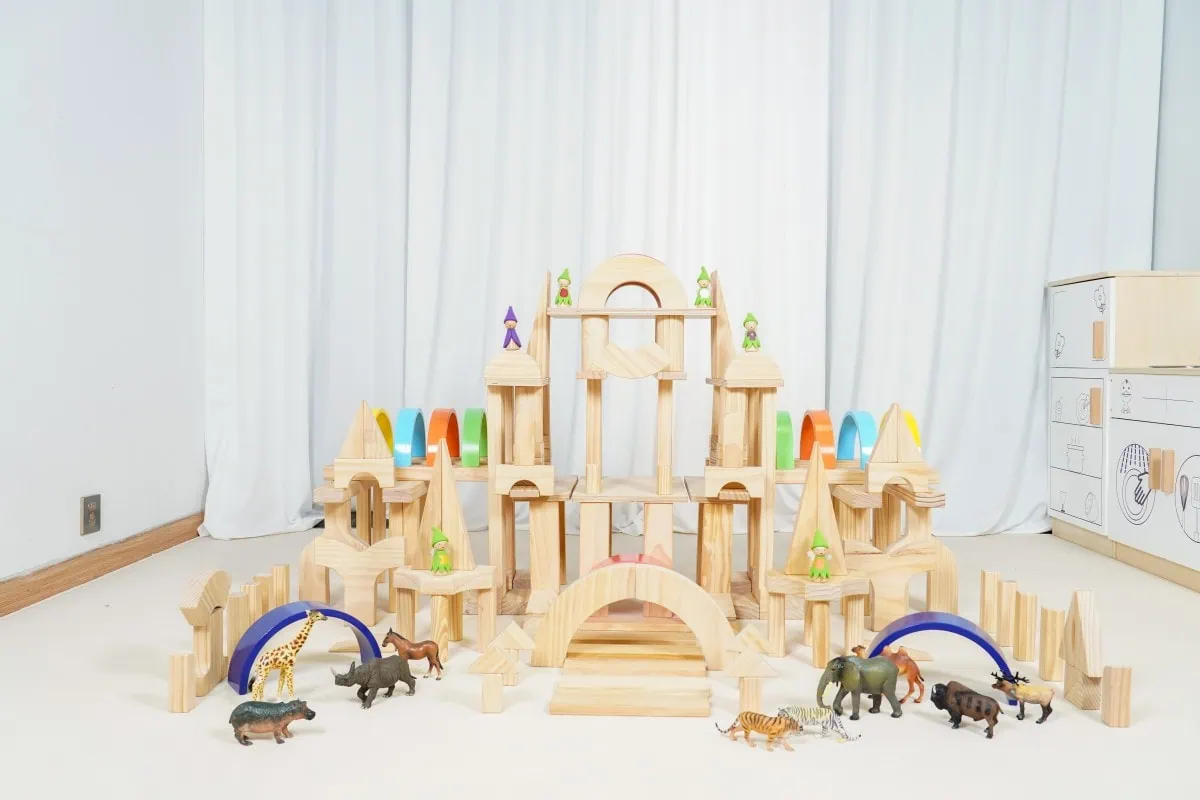
Block and Construction Center
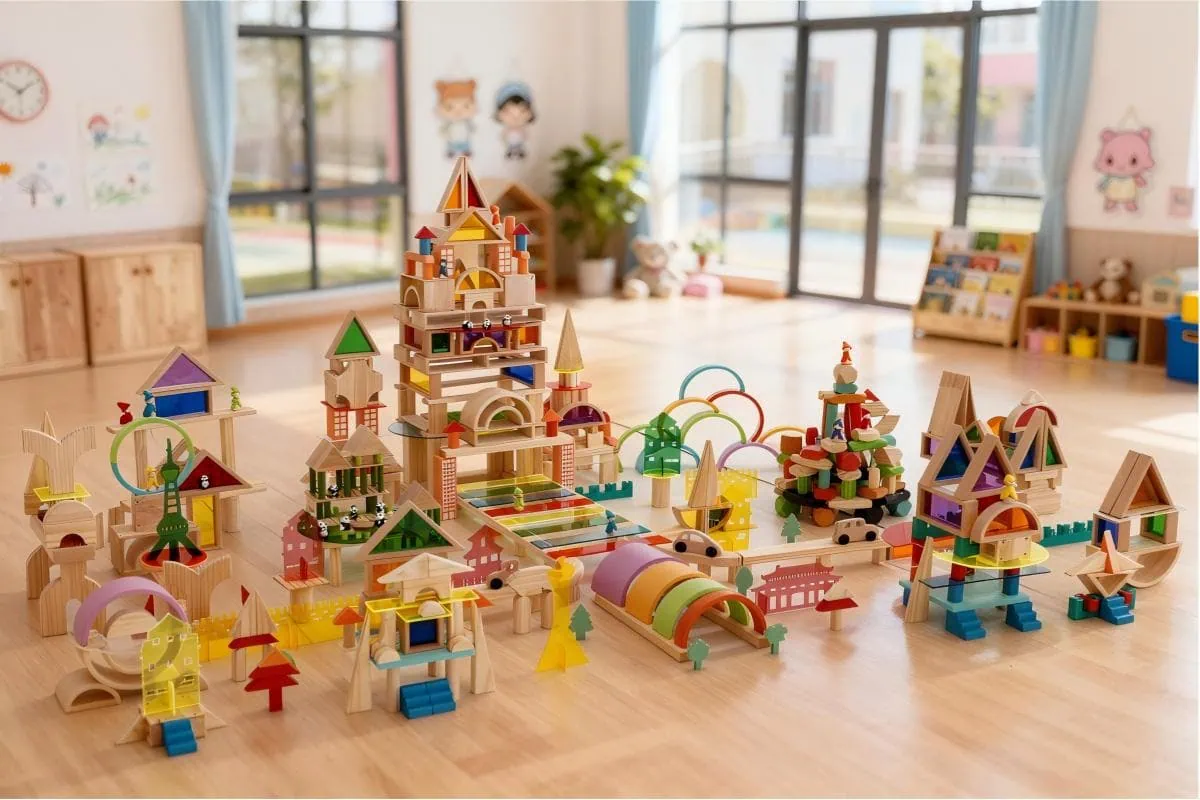
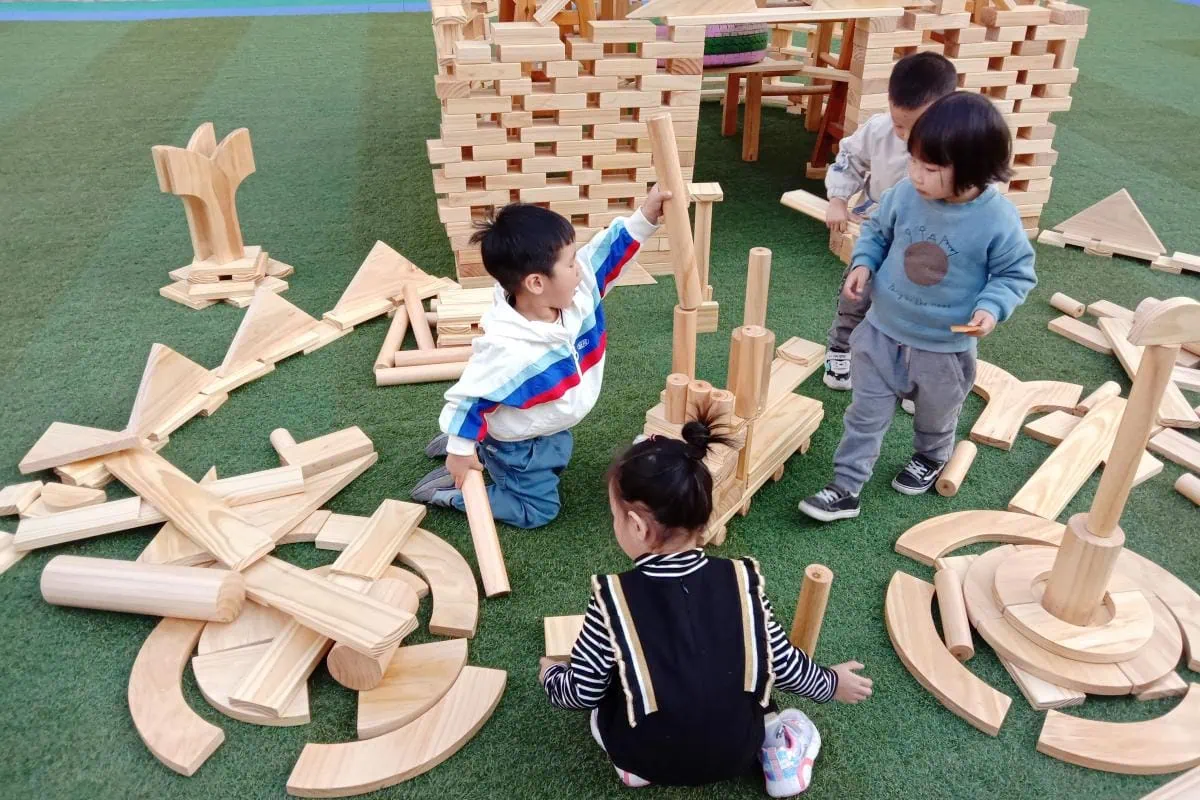
Provide a stable floor surface and enough room for structures to remain temporarily without blocking circulation. Nearby storage should allow children to identify different block shapes and return them safely.
Dramatic Play Center
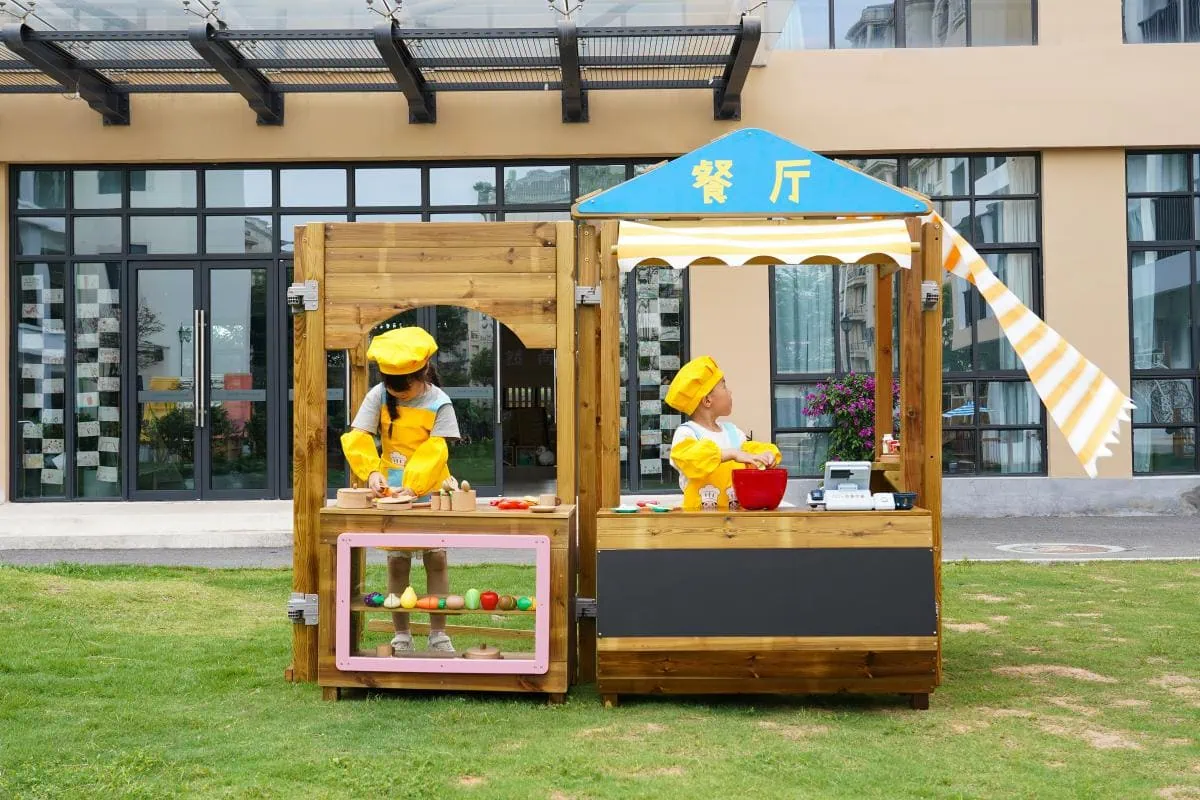
Dramatic play supports storytelling, language, negotiation, and collaborative role play. Props can be rotated to reflect children’s families, communities, projects, and interests. Larger pretend-play furniture should be checked against the available footprint before purchase.
Art and Making Area
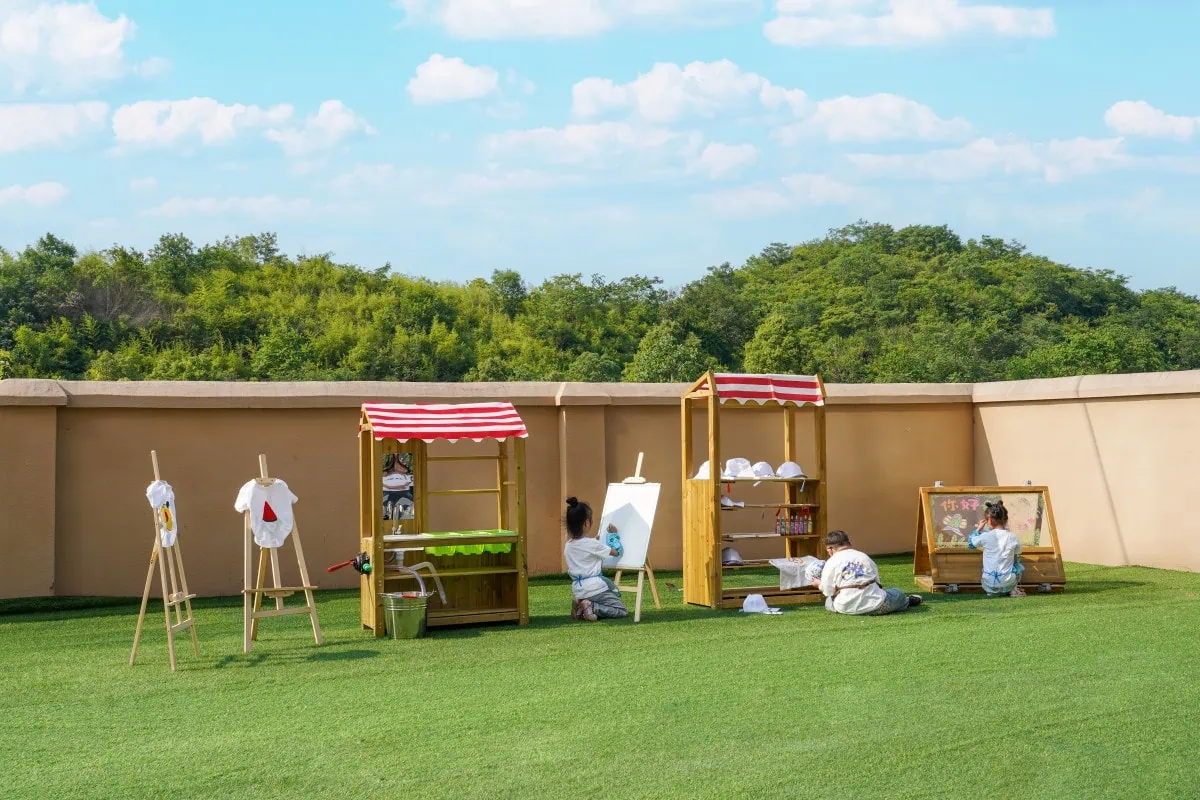
Locate messy activities near an appropriate cleanup point when possible. Protect display and drying space so children’s work does not interfere with daily circulation.
Library and Calm Space
A comfortable book area works best away from construction, music, and busy doorways. In addition to books, it may offer soft seating, storytelling materials, and a quiet place for children who need a short break from group activity.
Science and Nature Area
Use this area for observation, classification, measurement, plants, and rotating investigations. Materials should be age-appropriate and selected with attention to allergies, choking risks, hygiene, and supervision.

Common Pre-K Classroom Layout Mistakes
- Buying before measuring: Product dimensions may fit on paper while leaving insufficient operating space.
- Overfilling the room: Too much furniture or too many materials reduce usable play space and complicate supervision.
- Mixing incompatible zones: A reading corner beside block construction creates avoidable distraction.
- Blocking sight lines: Tall units and enclosed corners can make active supervision difficult.
- Using shelves as barriers without testing stability: Dividers must remain appropriate for their intended use and installation method.
- Creating one fixed arrangement: Children, curricula, and enrollment needs change throughout the year.
- Ignoring adult workflow: Teachers also need efficient access to supplies, sanitation points, and observation positions.
- Treating decoration as design: An attractive room can still have poor traffic flow, storage, or accessibility.
Pre-K Classroom Furniture Procurement Checklist
For new schools, renovation projects, distributors, and education groups, the following information helps suppliers prepare a more accurate proposal:
- scaled room plan and verified dimensions;
- number and age range of children;
- local market and applicable requirements;
- preferred learning centers;
- existing furniture that will be retained;
- required product quantities;
- material and finish preferences;
- branding or private-label requirements;
- delivery destination and project schedule;
- assembly and installation expectations;
- required testing and documentation.
Providing this information early helps reduce revisions and makes it easier to compare product dimensions, storage capacity, packaging, lead times, and landed project costs.
Frequently Asked Questions
What is the best layout for a pre-K classroom?
There is no single layout that works for every classroom. The best arrangement reflects the room dimensions, curriculum, enrollment, supervision plan, accessibility needs, fixed building features, and local regulations. It should provide clear activity zones without restricting movement or visibility.
How many learning centers should a pre-K classroom have?
The number should depend on usable space and the program’s priorities, not on a universal target. A smaller classroom can combine compatible activities and rotate materials instead of creating too many undersized centers.
How should quiet and active areas be arranged?
Place quiet areas such as reading and reflection away from construction, music, dramatic play, and major traffic routes. Active centers can often be grouped together if they still provide safe boundaries and appropriate circulation.
How often should the classroom layout change?
Change the arrangement when observation reveals a specific problem or a new program requirement—not simply to make the classroom look different. Material rotations can refresh learning opportunities without requiring a complete furniture rearrangement.
What information should a furniture supplier receive?
Share room dimensions, floor plans, children’s age range, quantities, required learning zones, target market, compliance needs, delivery location, and schedule. Photographs and information about doors, windows, sinks, columns, and existing furniture can further improve planning accuracy.
Build a Classroom Around Real Learning Needs
An effective pre-K classroom layout connects educational goals with everyday operations. The strongest plans begin with accurate measurements, protect safety and accessibility, organize compatible activities, preserve supervision sight lines, and test furniture at its true operating footprint.
The result should not be a showroom that remains unchanged. It should be a responsive learning environment that helps children play, communicate, create, concentrate, and develop greater independence.
Planning a preschool project or product range? Contact Sing2sky with your room dimensions, target market, product quantities, and project schedule to discuss educational furniture, wholesale supply, private-label options, or OEM/ODM requirements.